Body
A step-by-step guide that will show users how to install VirtualBox running Windows 10 for Mac OS.
You will need at least 30 gigs of storage space free before starting!
-
Start by downloading the virtualization application Virtual Box from https://www.virtualbox.org/wiki/Downloads (select "OS X Hosts")

-
Download Windows from Microsoft Azure
-
Follow this link here, to go to Azure Dev Tools For Teaching

-

-
Sign in using your UCCS email address

-
Once it redirects you to the UCCS sign in page, log in with your UCCS username and password

-
You may see this screen asking if you want to stay signed in, if you are on a PUBLIC computer DO NOT STAY SIGNED IN, otherwise it is up to you

-
Let Azure load up, it may take a little while, especially if it's your first time signing in, then navigate to the software menu on the left hand side of the screen

-

- Once you have found your software, click on it from the list to pull up this menu on the right side of your screen

-
-
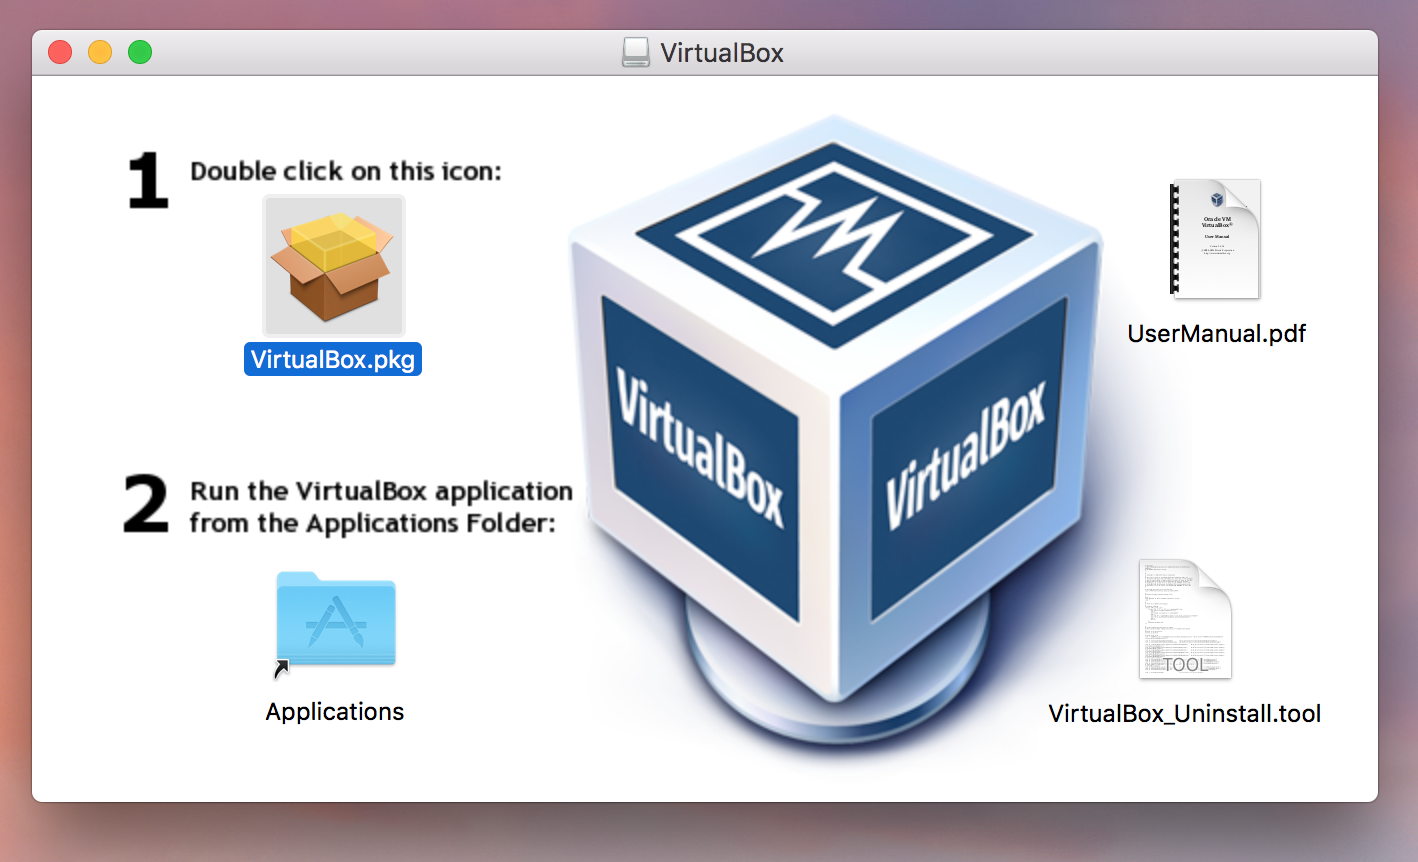
Click the "VirtualBoxOSX.dmg" file downloaded in Step 1 and double click the "VirtualBox.pkg" to install VirtualBox
-
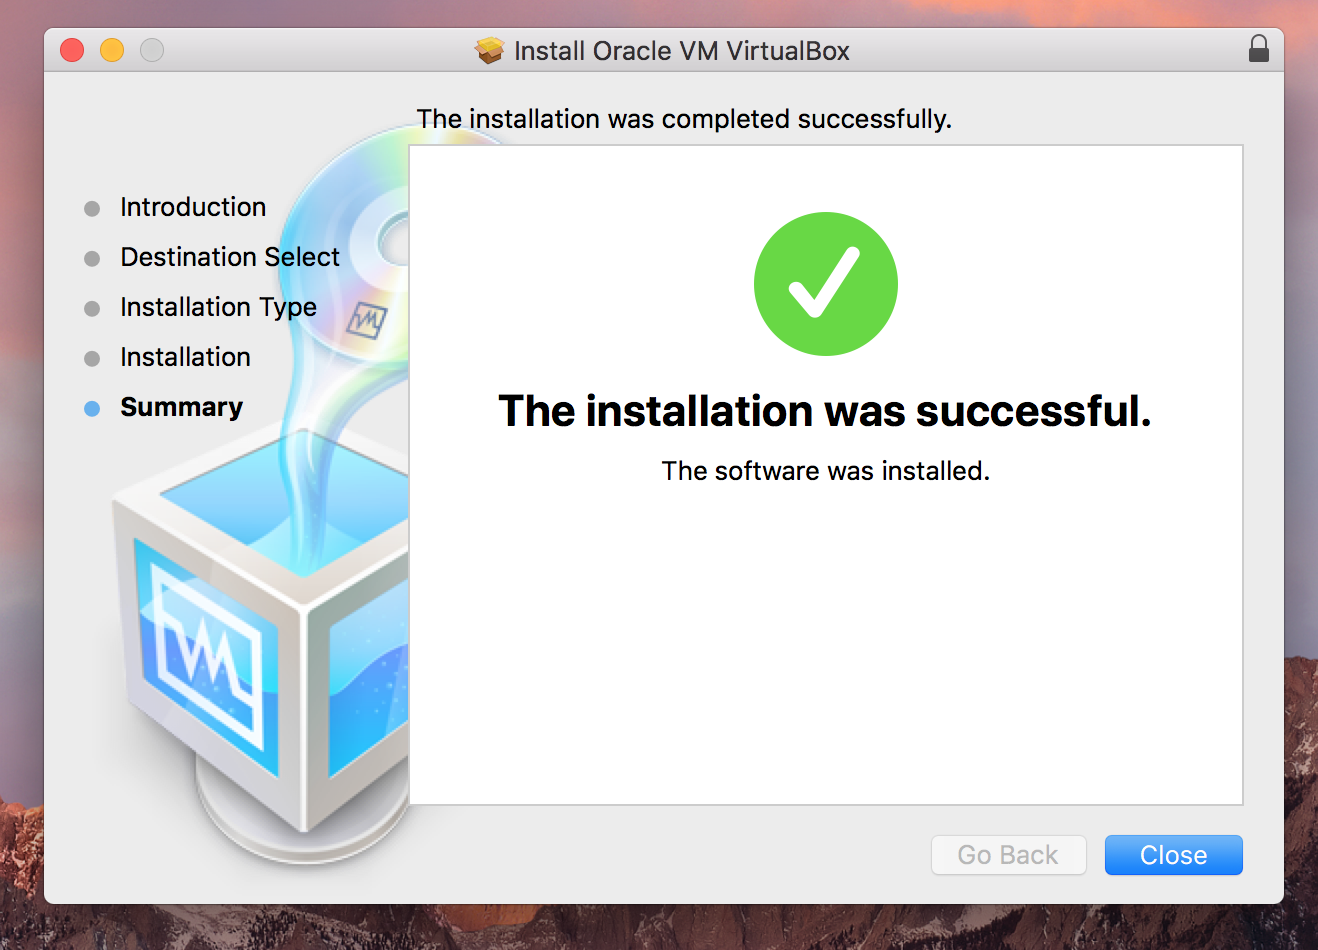
Continue to click through the installer and enter your password when needed **if VirtualBox won't install due to security issues → go to system preferences → security & privacy → click "open anyway" → enter password**
-
After VirtualBox is finished installing you can click "close" and "move installer to trash" since you won't need it anymore
-
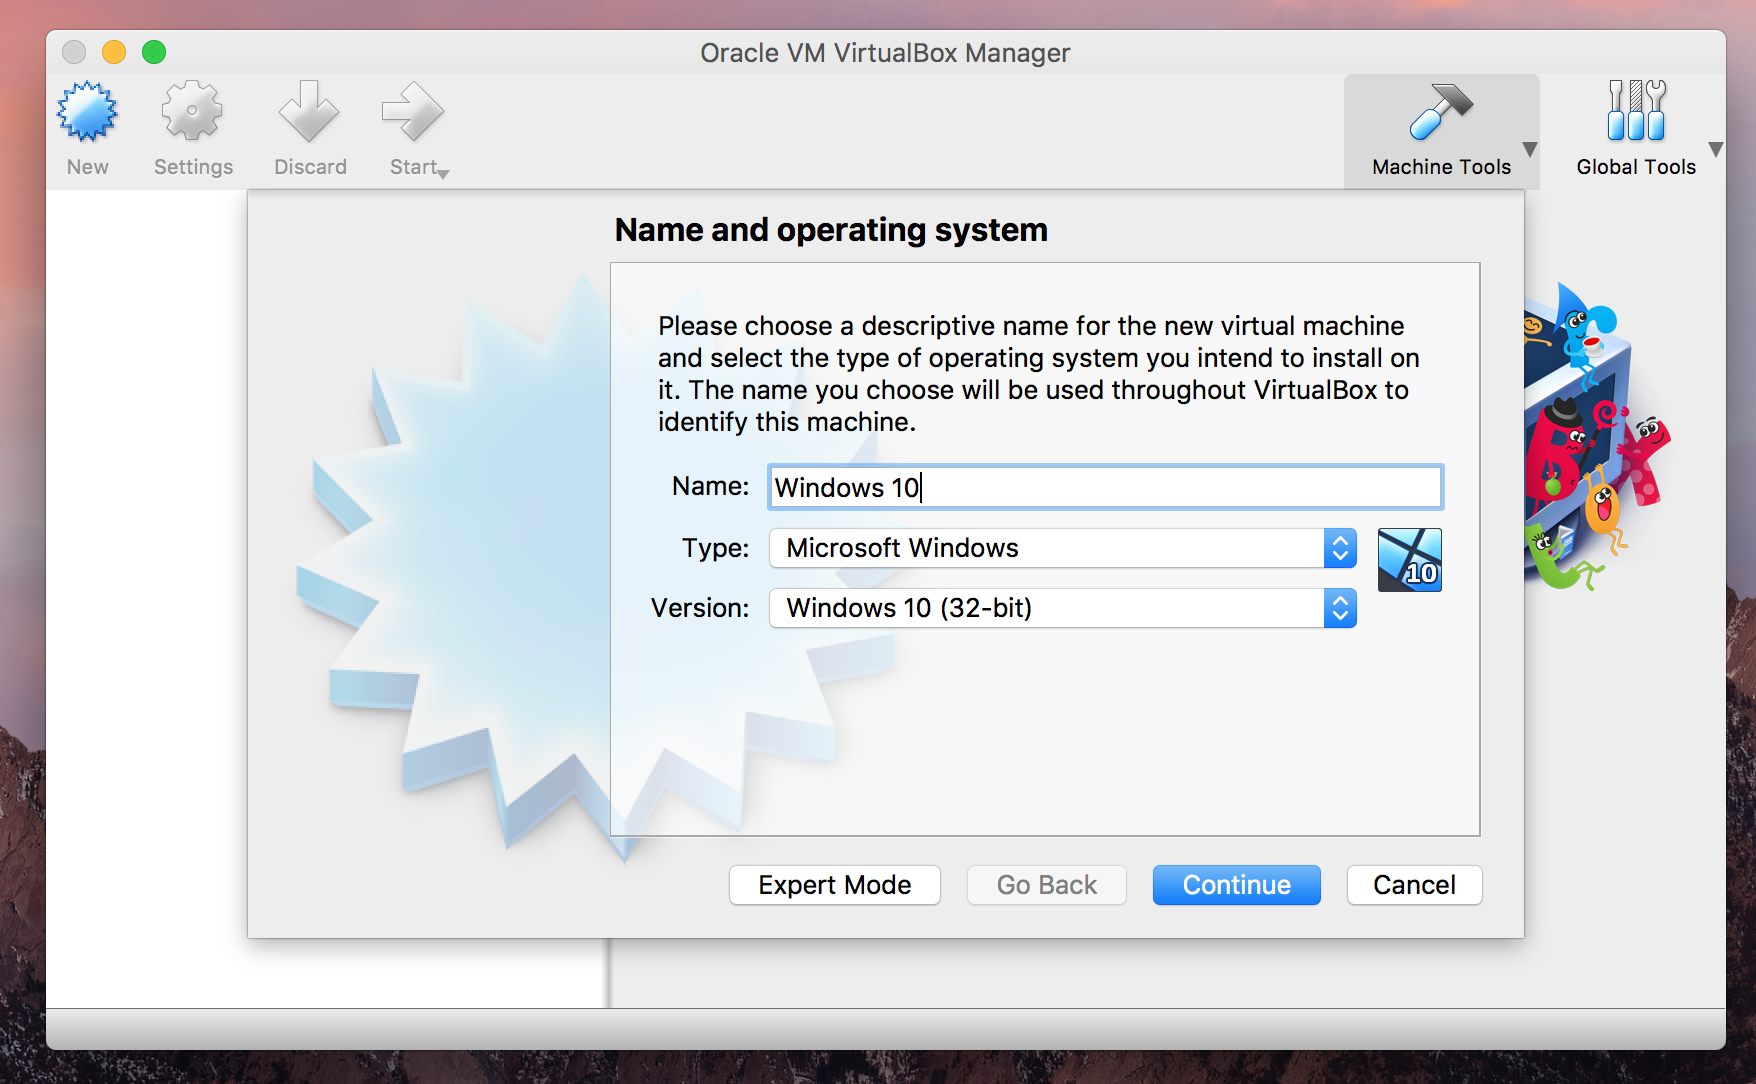
Locate VirtualBox in your applications folder and open it
-
-
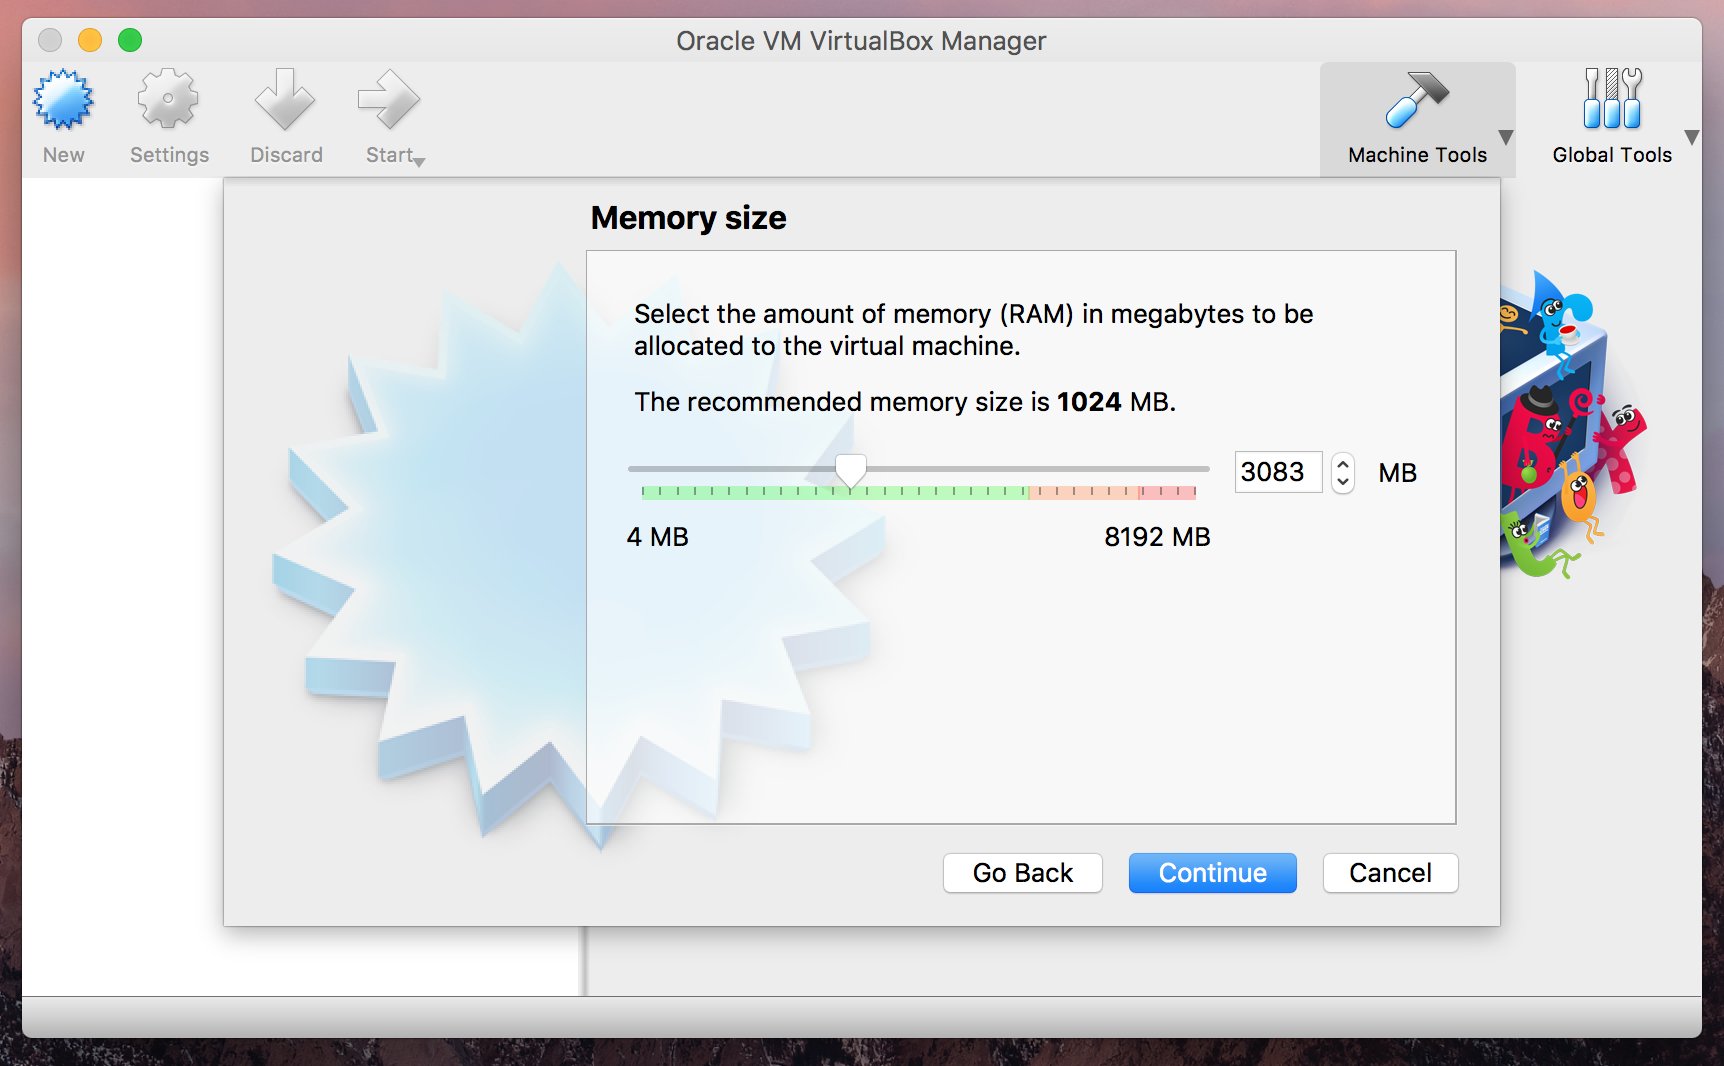
Next you allocate of much of your Mac's RAM to use for VirtualBox (recommended values are 2000mb - 3000mb but always stay in the middle of the green on the slider)
-
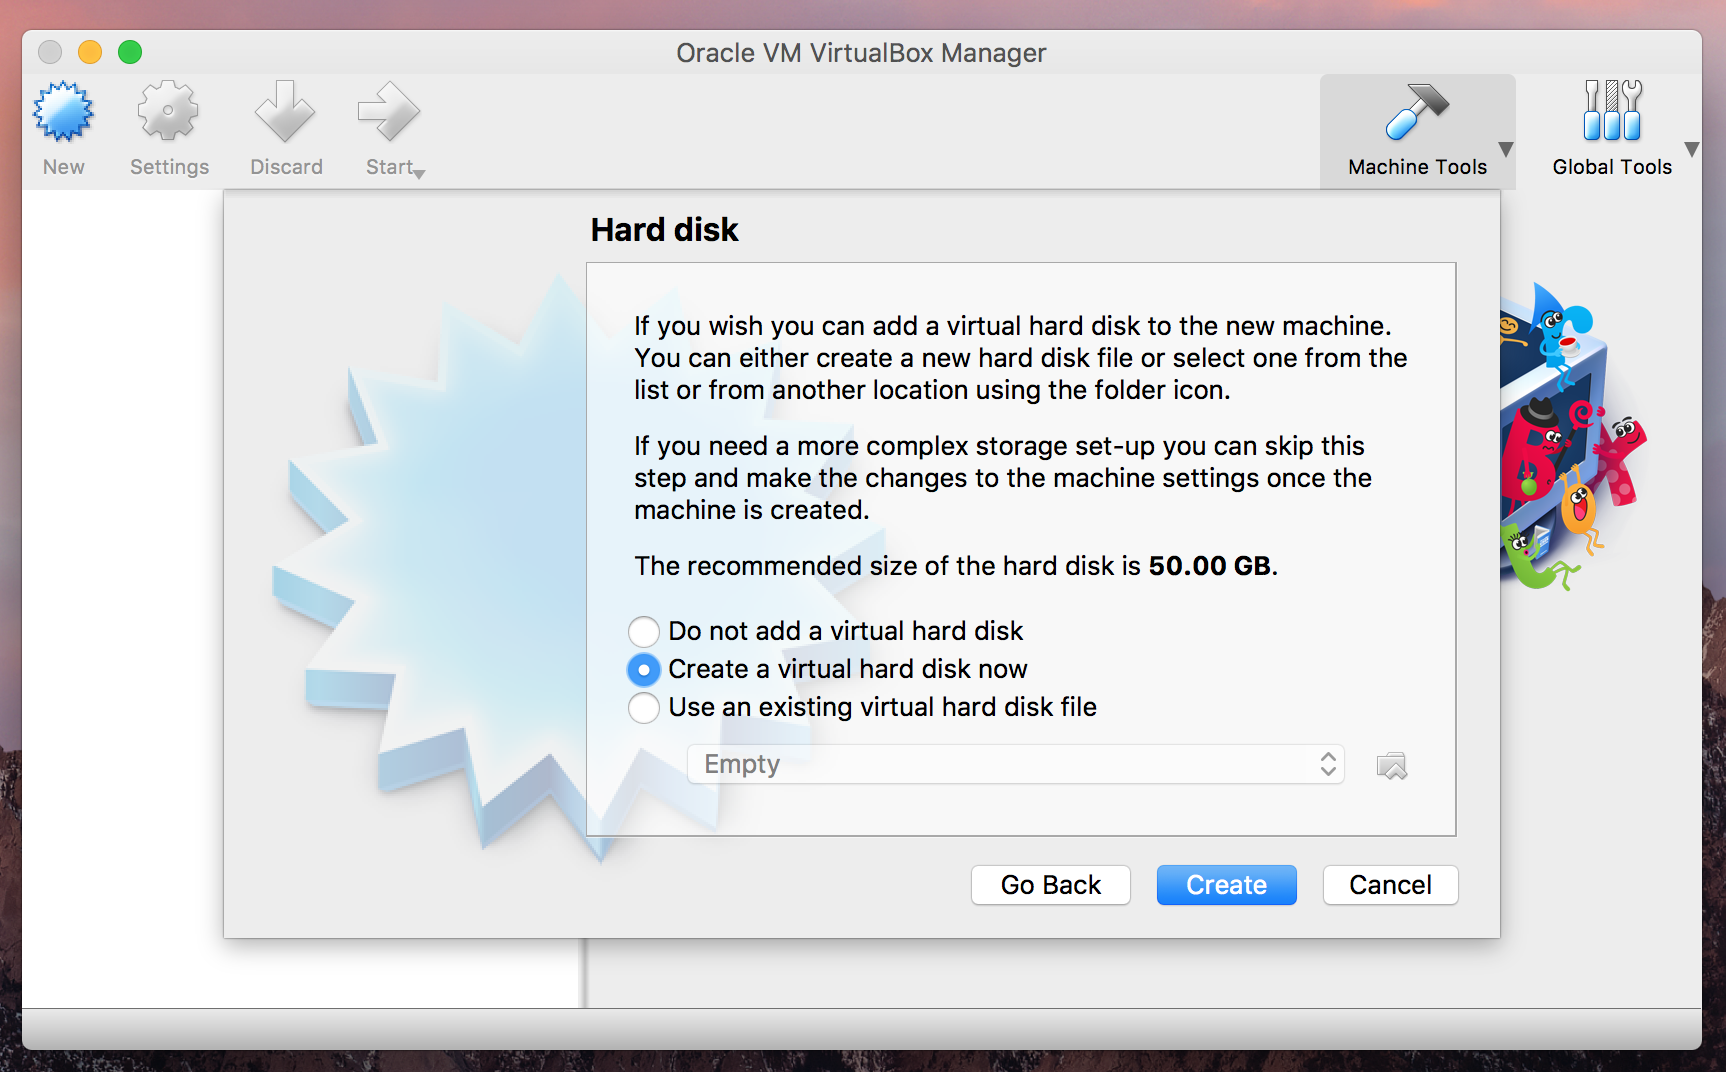
Create a virtual hard disk (50gb is standard. )
-
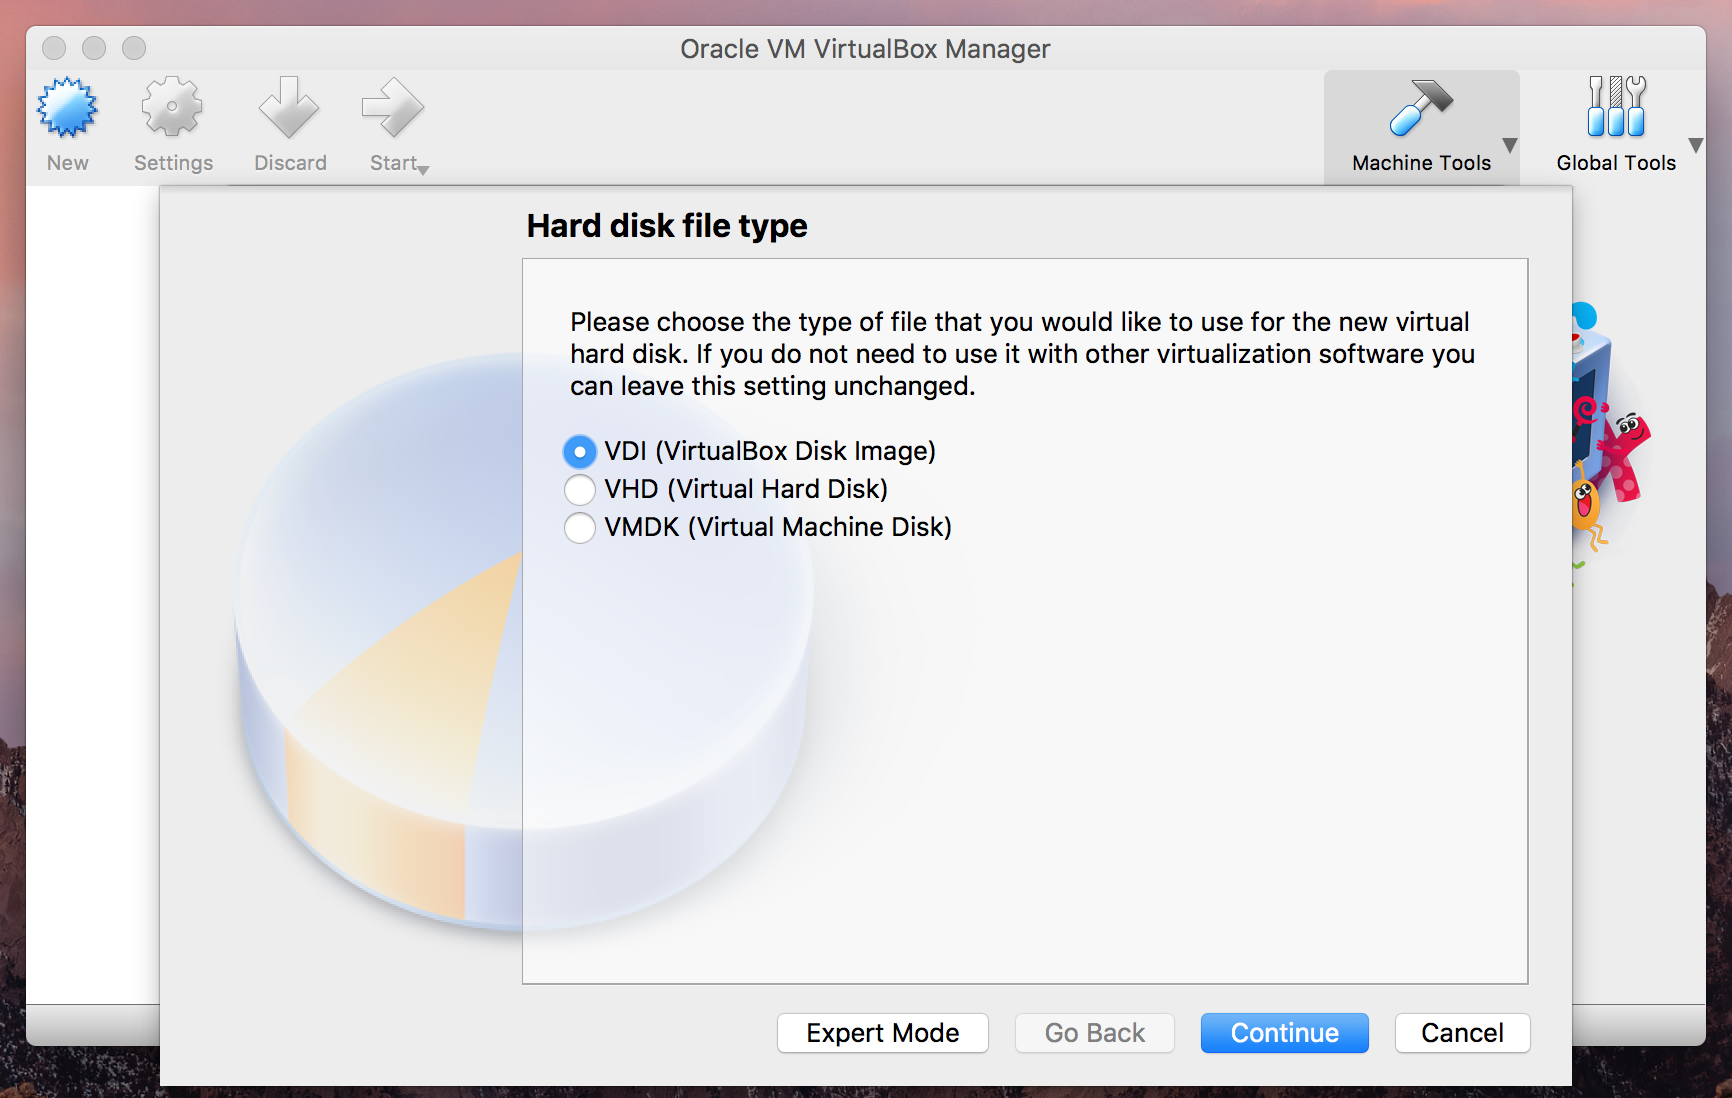
When asked about hard disk file type choose the default "VDI VirtualBox Disk Image" option
-
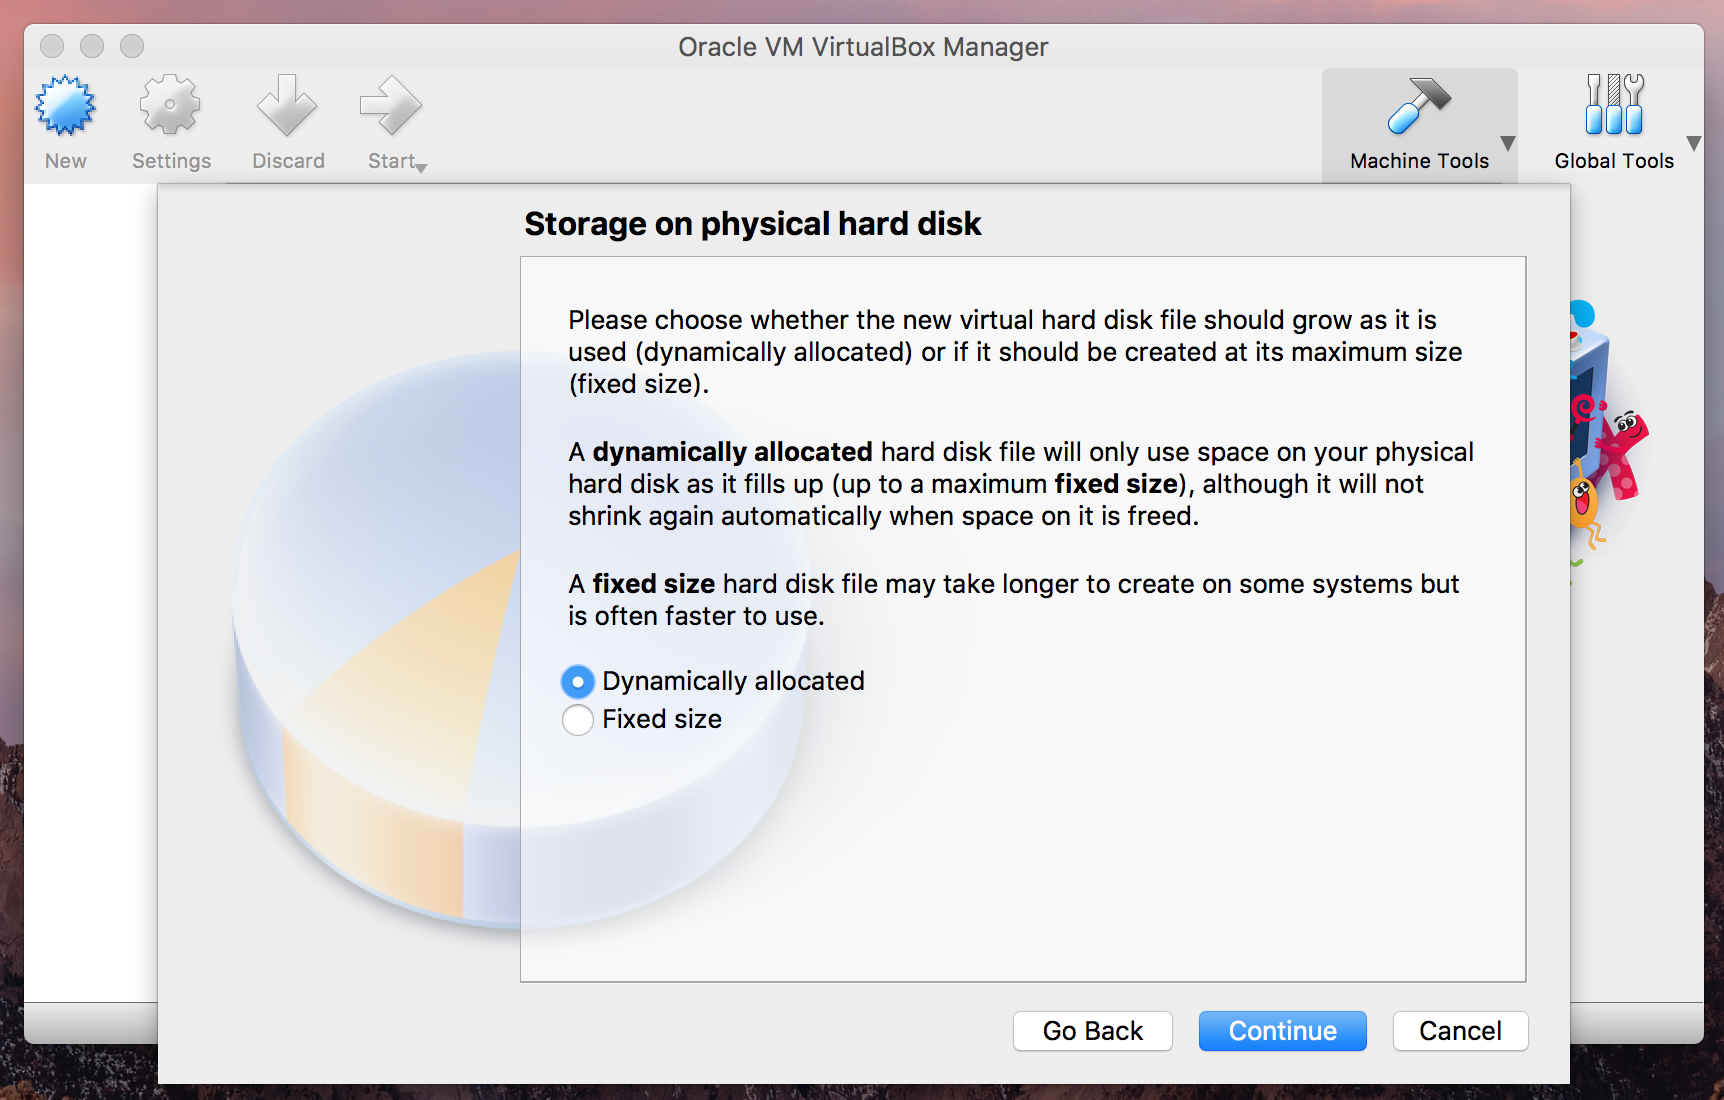
Select "Dynamically Allocated" when asked about the storage on physical hard disk
-
You can keep the default name and hit "create"
-
-
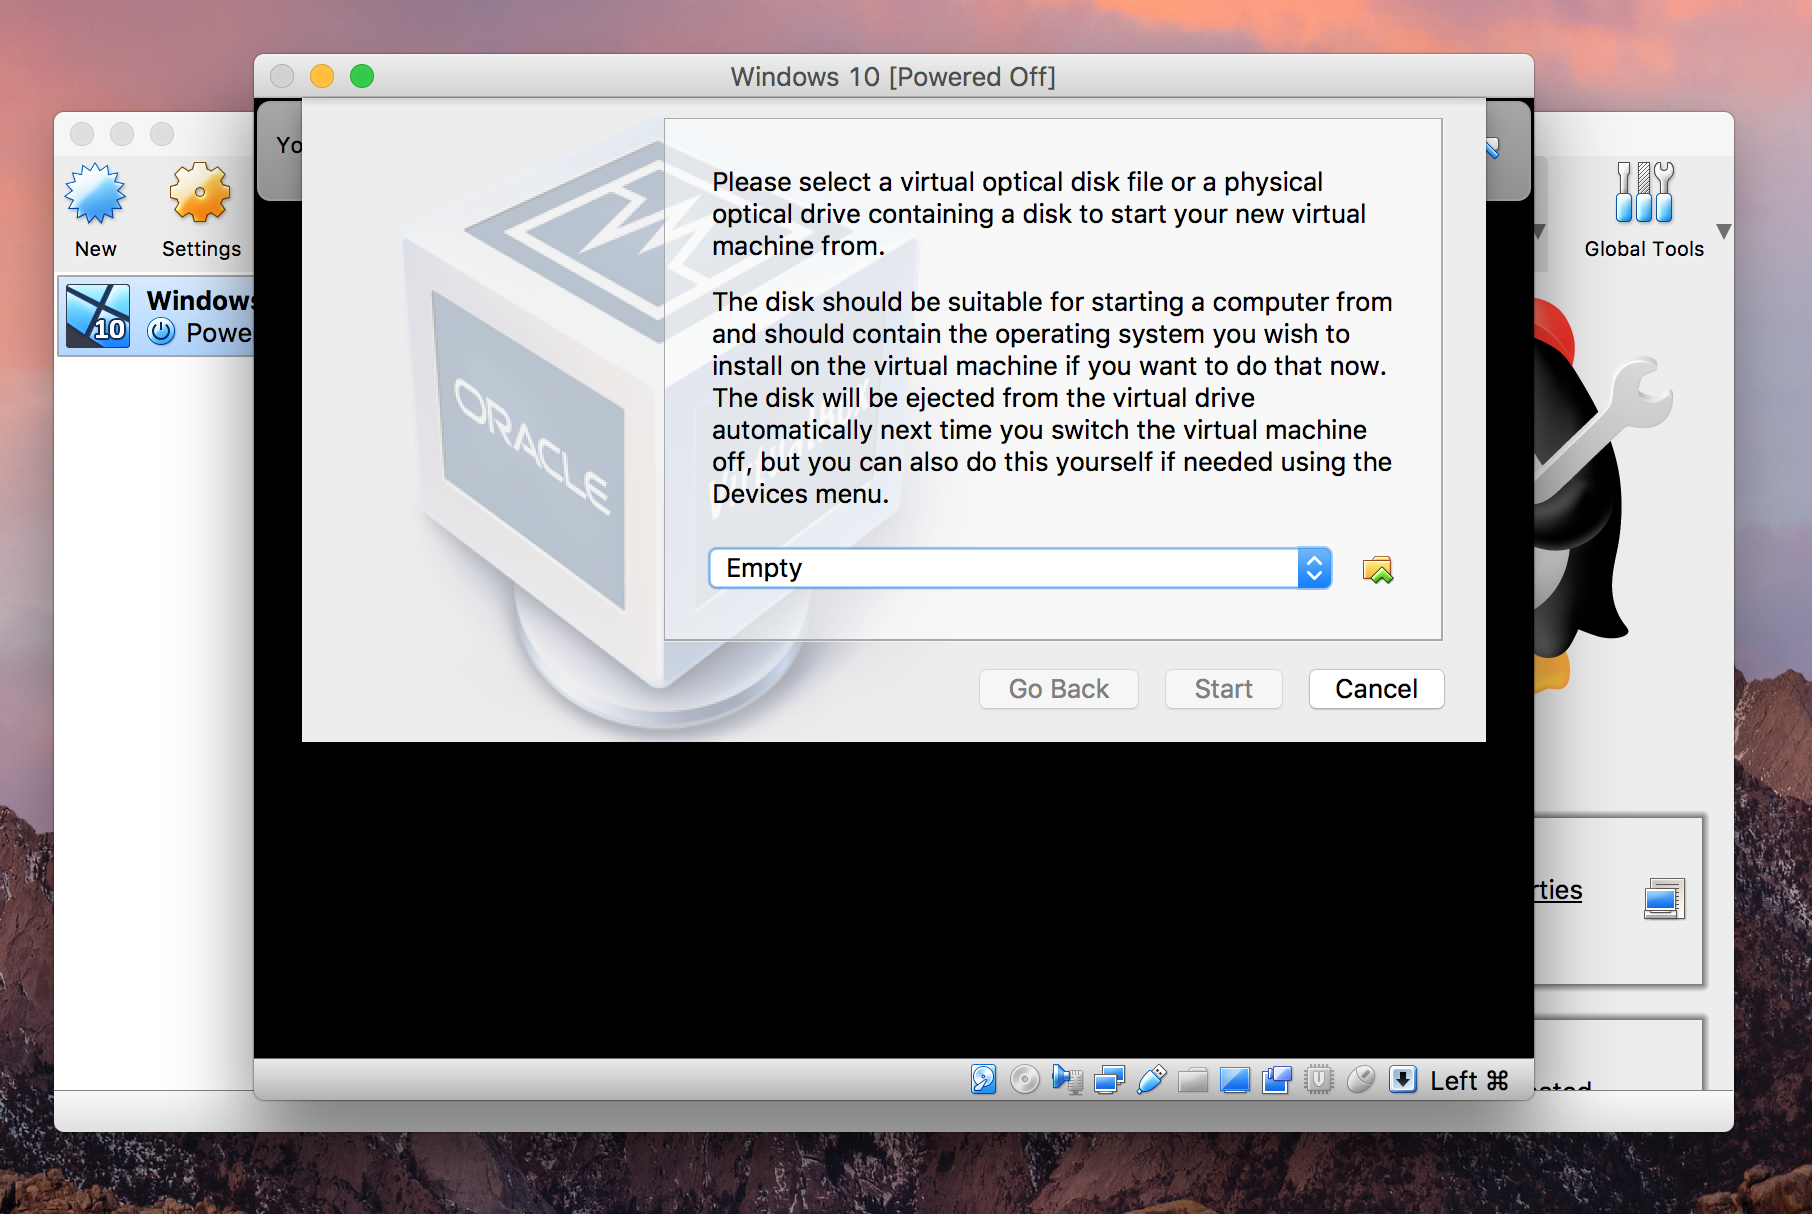
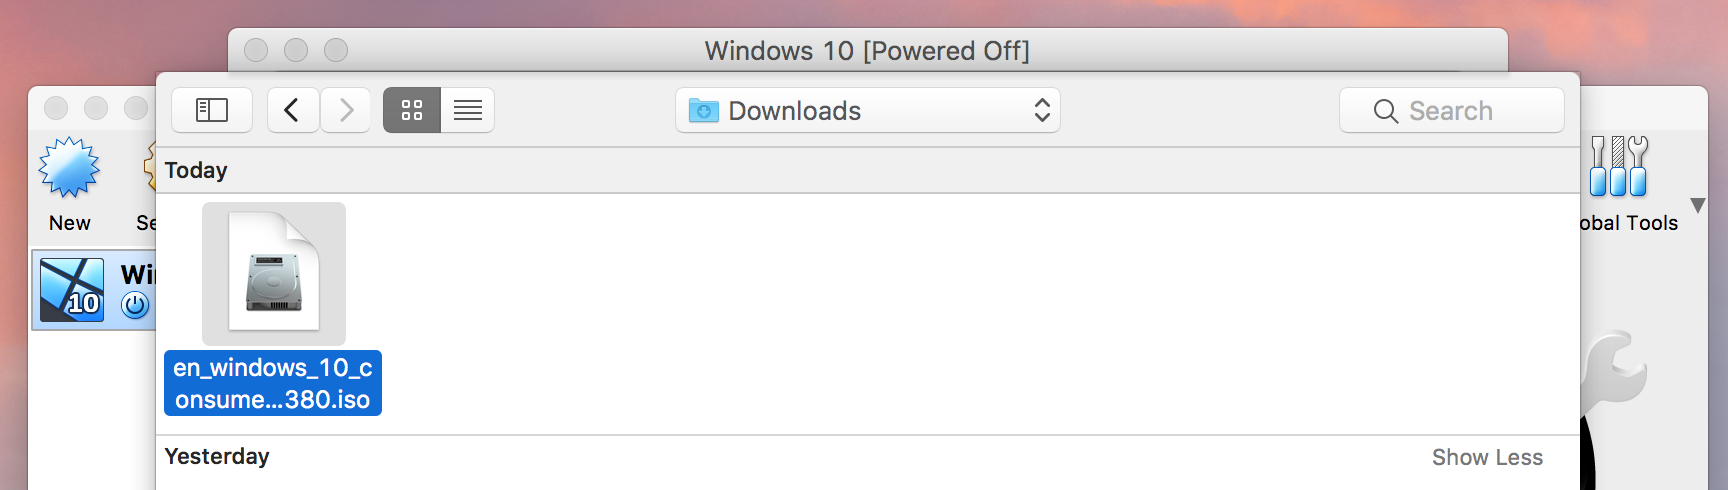
Click the folder icon and navigate to where you saved the Windows 10 file and select it
-

-
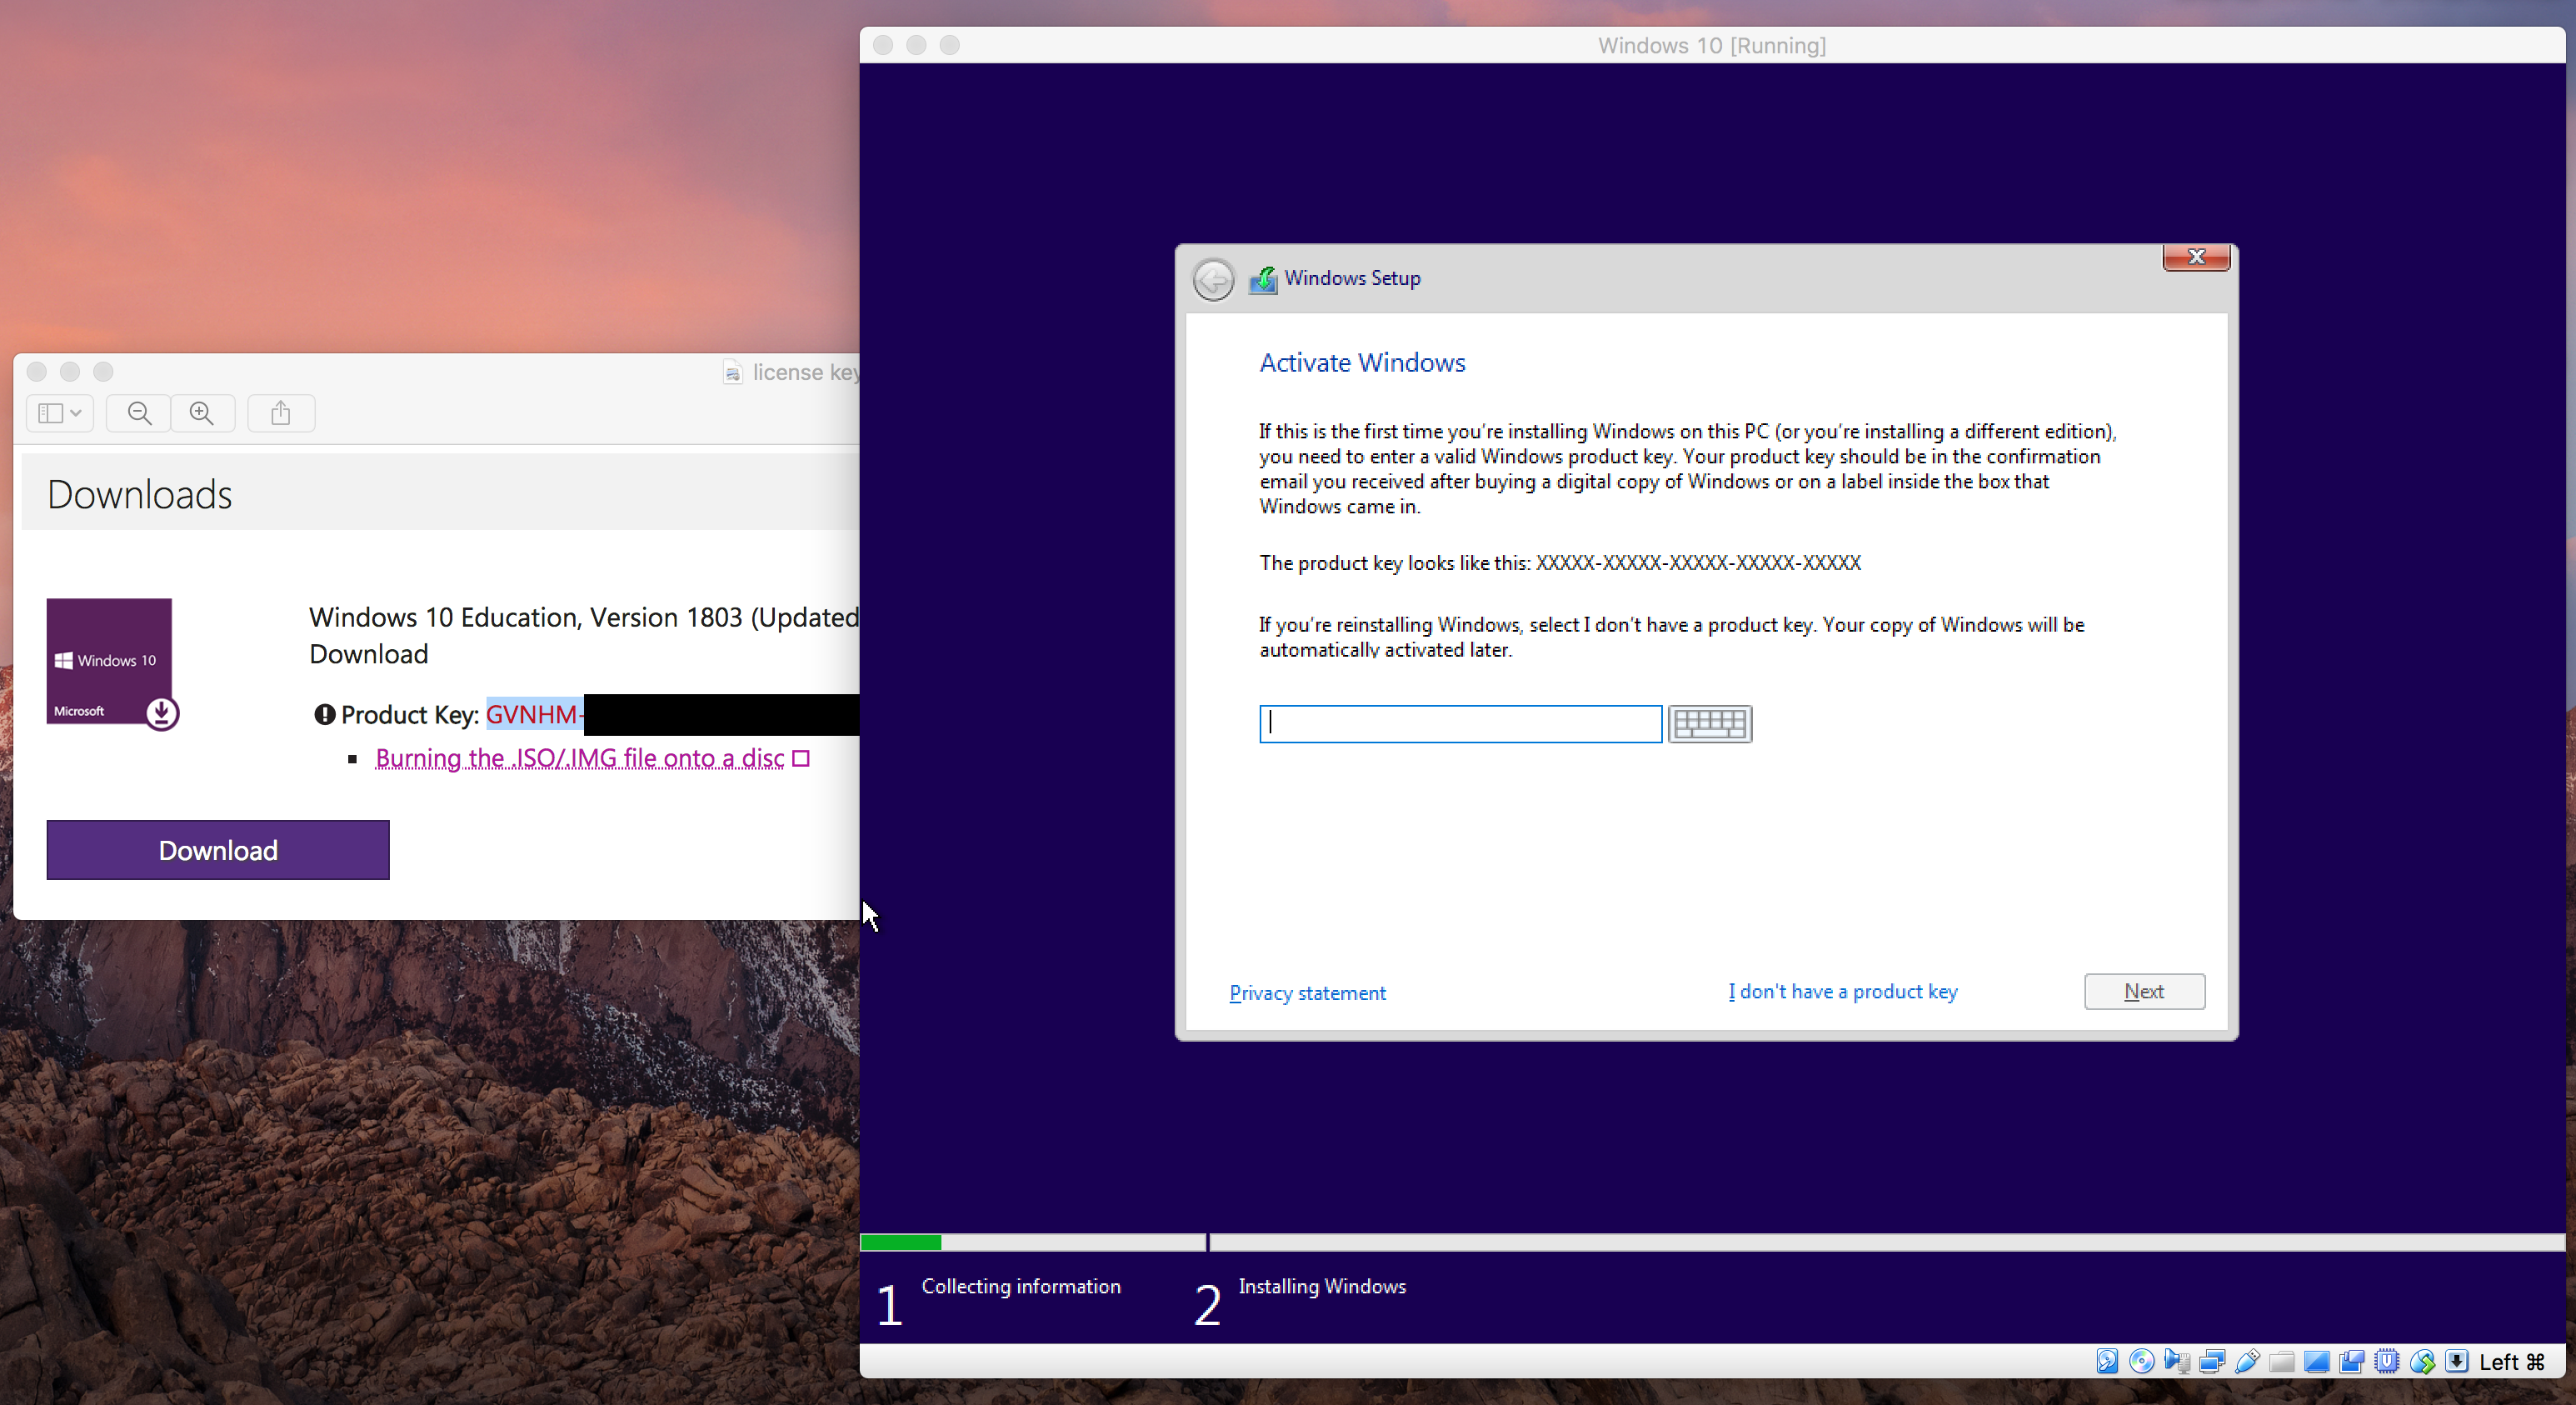
Click install now and when prompted enter your license key (copy & paste will not work so you will have to manually enter it)
-
-
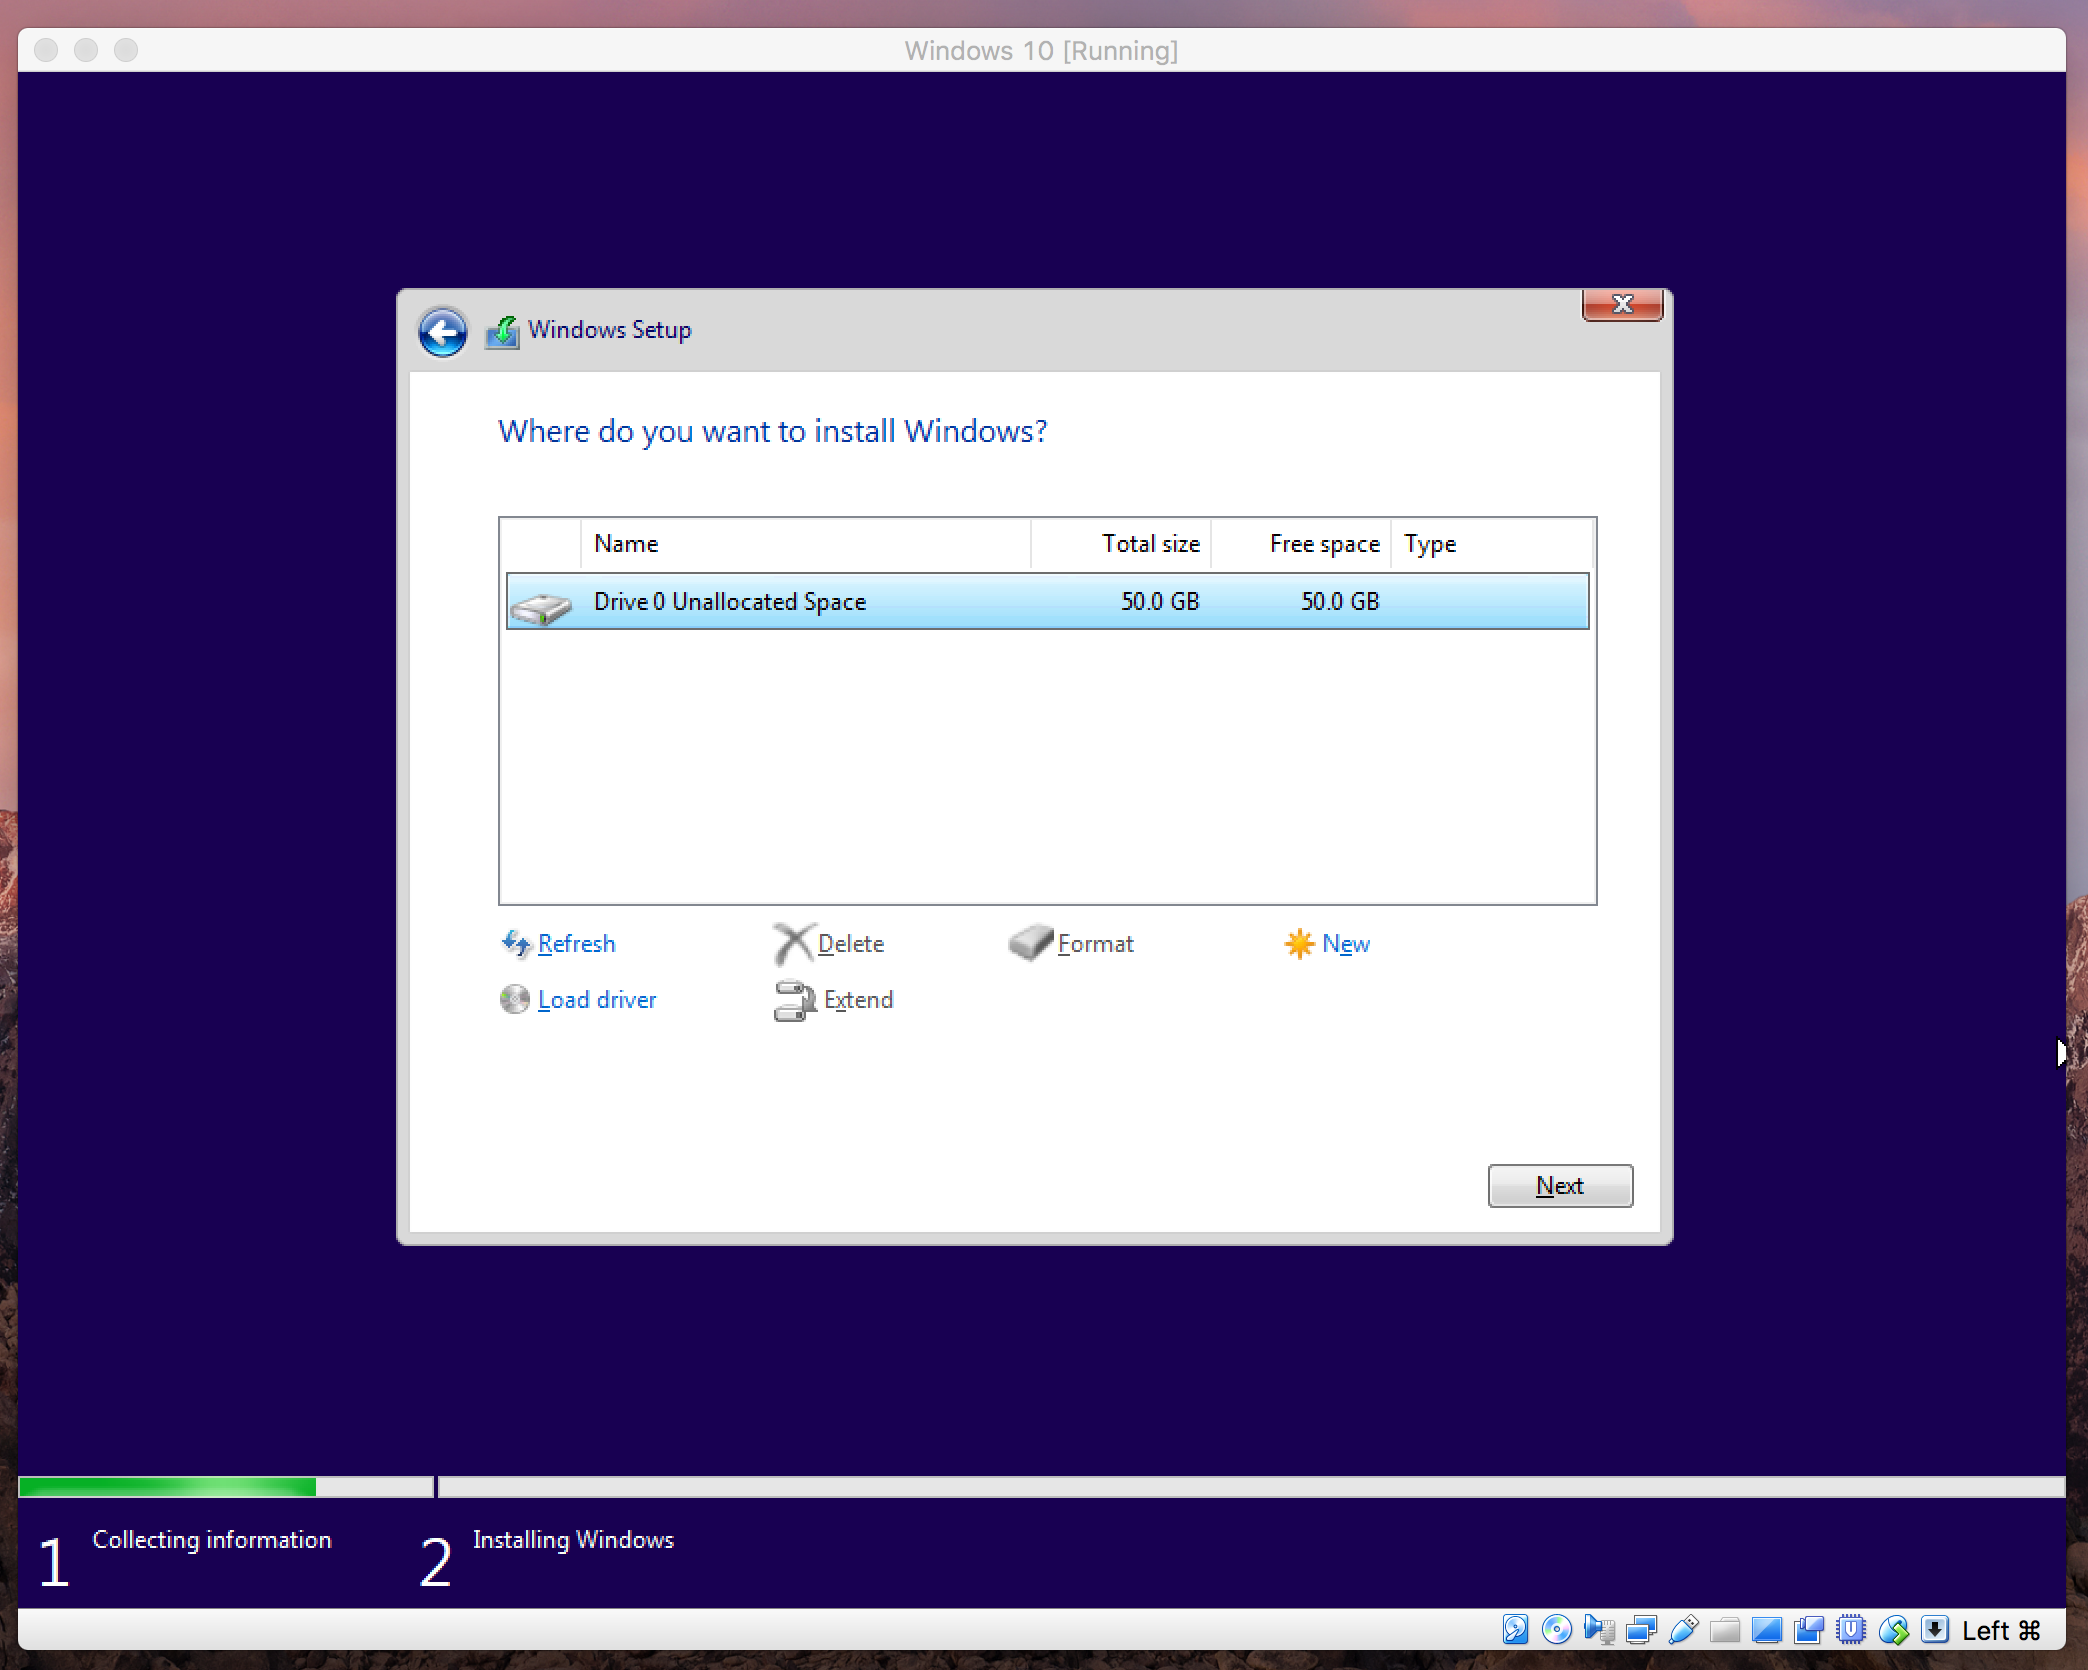
Select Drive 0 Unallocated Space (wait for Windows to fully install before moving on to the next step)
-
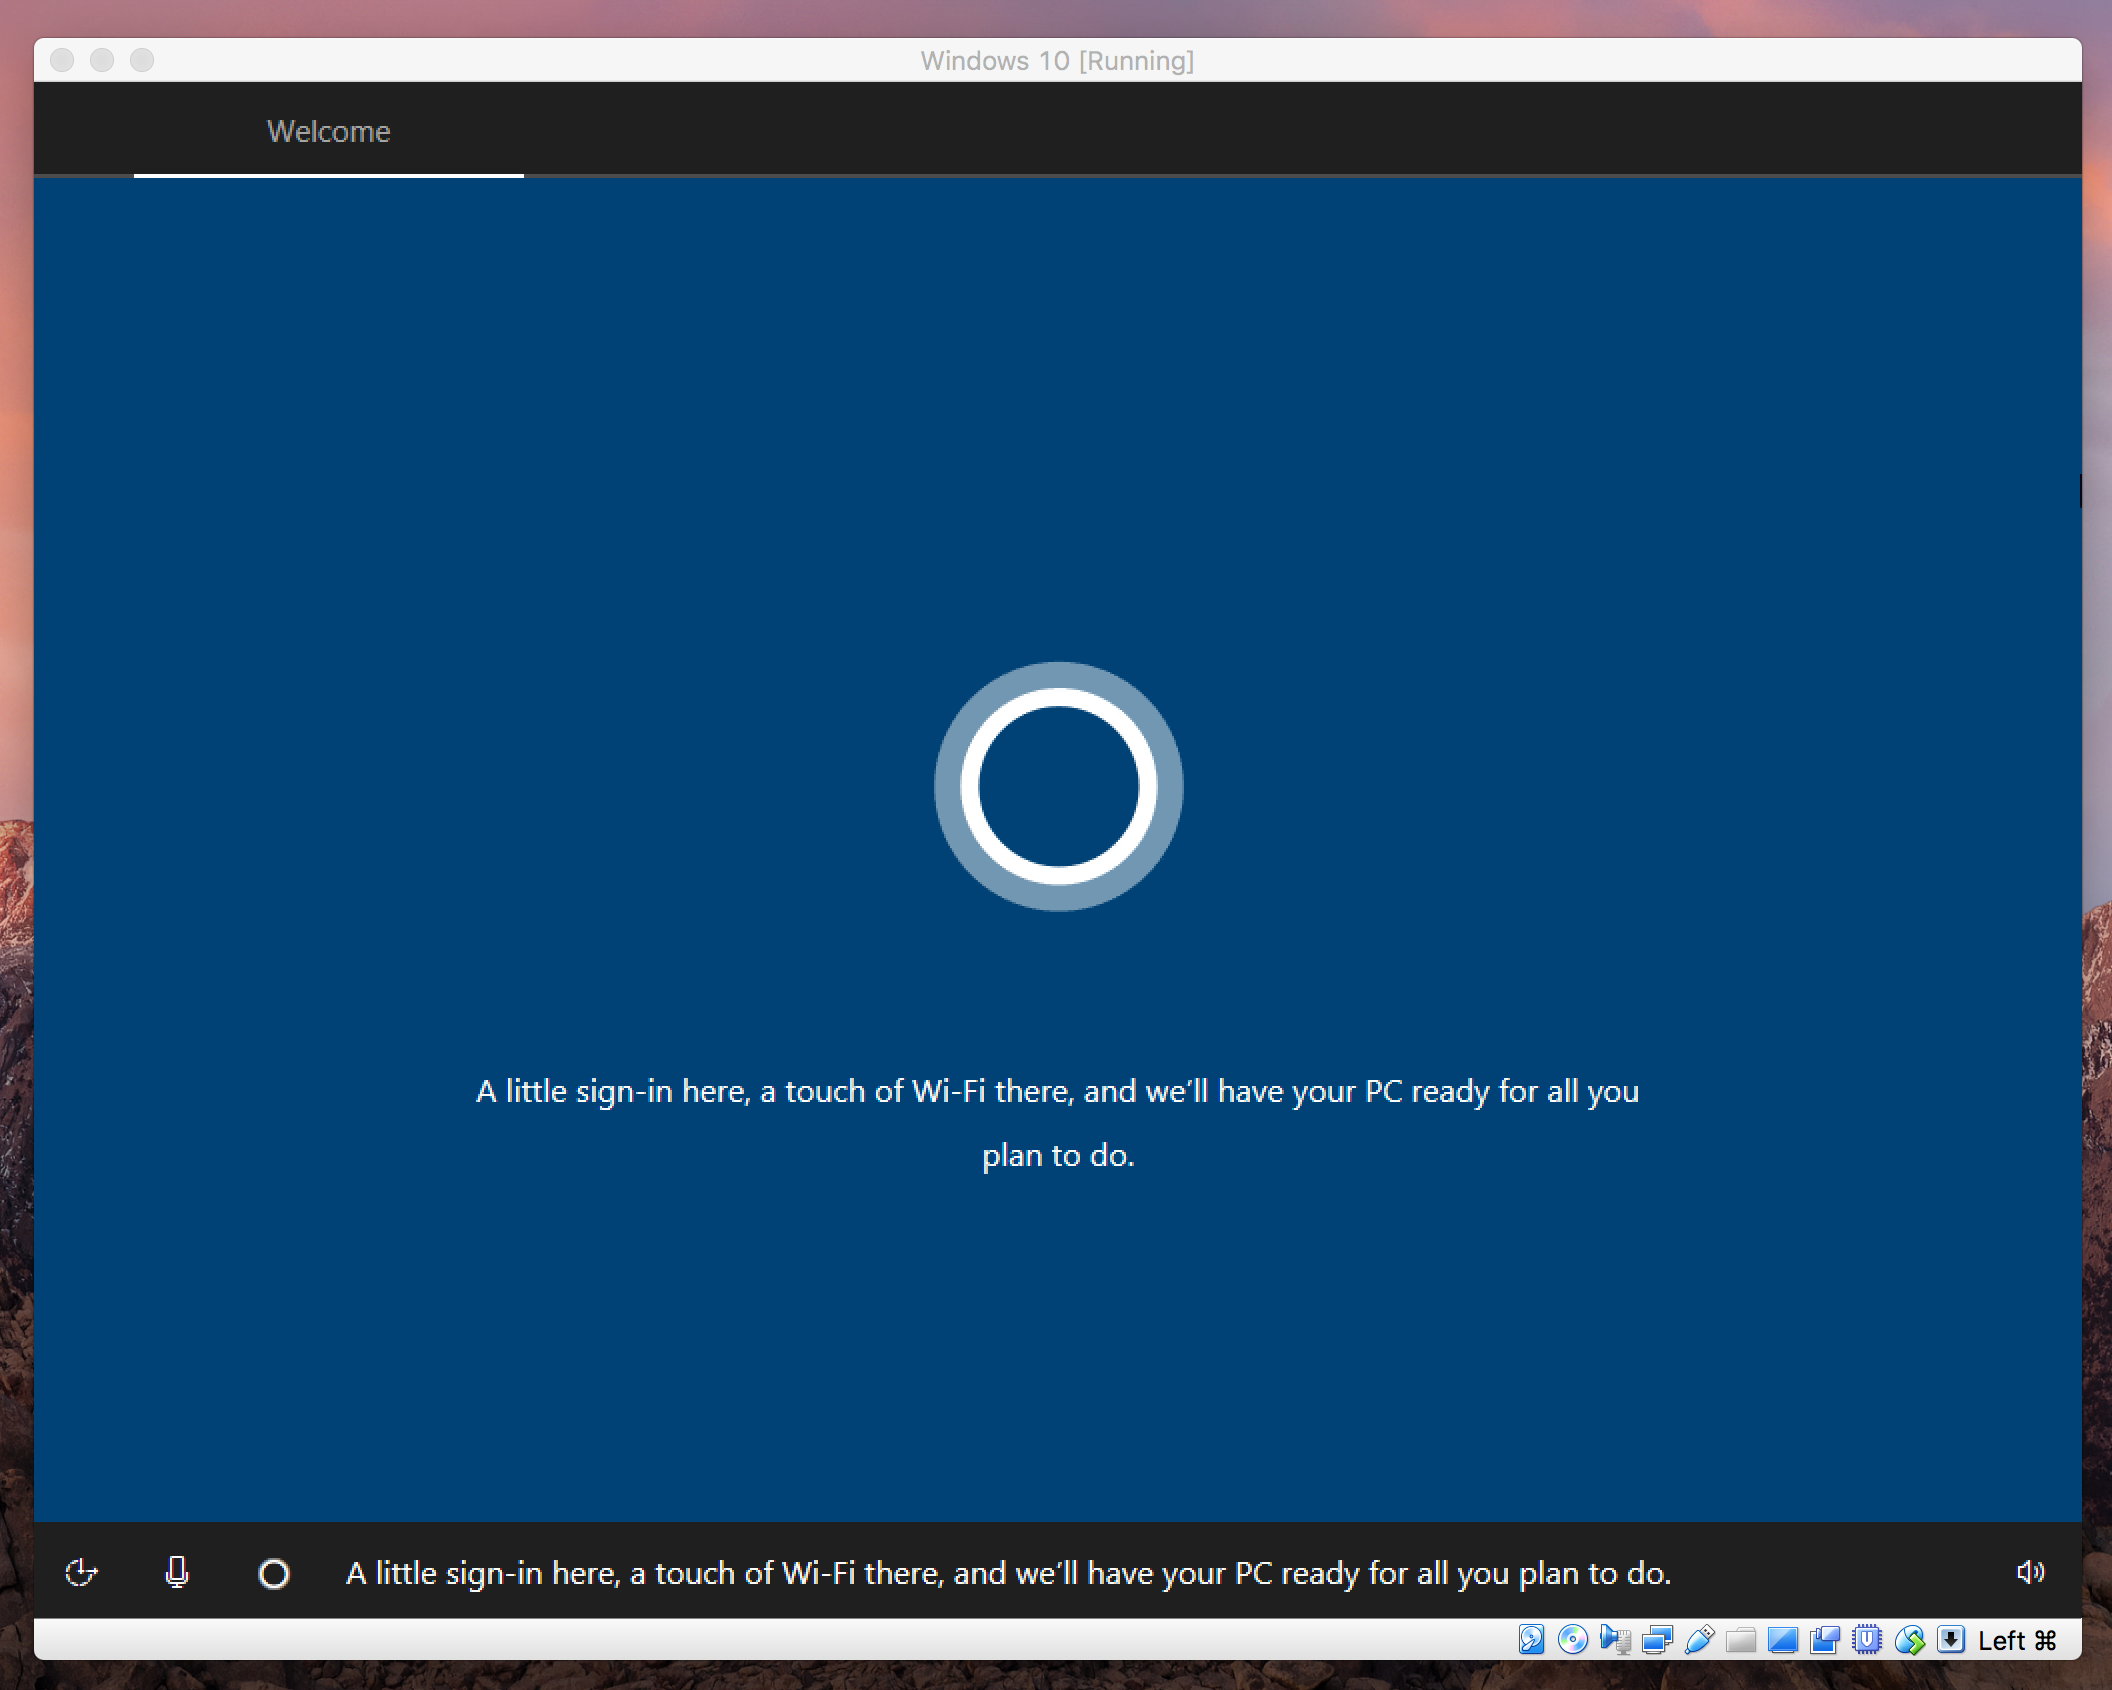
Once Windows 10 is installed - you will be greeted by Cortana the Windows personal assistant
-
Continue through the basic setup
-
When prompted to create an account, select offline account, and enter a new username and password, then fill out the three security questions
-
You may be prompted to create a PIN after signing in - however, after that setup is finished and you will be at the desktop.
- If you need MS Projects follow this guide here